Sunday 19 February 2023

NEW Blog Page February 2023

 Hi

A quick post to say that I will now be posting all NEW content on my new page below and would love you to follow me and share with all your crafty friends.  Thank all so much :

Mandy-Jane Crafts

See you there :)

Friday 19 April 2019

Easter Bunny Blog Hop

Hi Everyone

Who’s ready for the Easter Bunny?  Me....yay!

I have created an Easter themed canvas with lots of pretty flowers and of course a Bunny!


I’ve used a beautiful mandala stencil on the background using transparent relief paste.  I love texture. I then painted over it with a soft blue paint and added some pops of bright green to it.  Once it was dry I added some white dry brushing with gesso to soften the colours down.


Next I added my birdcage stencil using some chartreuse paint and added black and white details then I just added lots of floral embellishments leaving room for the Easter Bunny of course!..lol  To add lots of texture I added lots of Artsy Stones to fill gaps and build up along the edges of the embellished area.

For a full tutorial on this project  check out my facebook page: https://www.facebook.com/craftylass

The Team have made some gorgeous projects for you so please hop along with us:

CMP Designs

Have a wonderful Easter :) xx


Thursday 14 February 2019

Valentine's Day Blog Hop

Hi Everyone

I am so excited to have been asked to join in the Valentine Blog Hop as I have never done one before so it's a real first for me :)  It gives me a chance to play with my Imagination Crafts goodies (not that I need an excuse...lol).

So I decided to create this gorgeous little heart canvas for you.

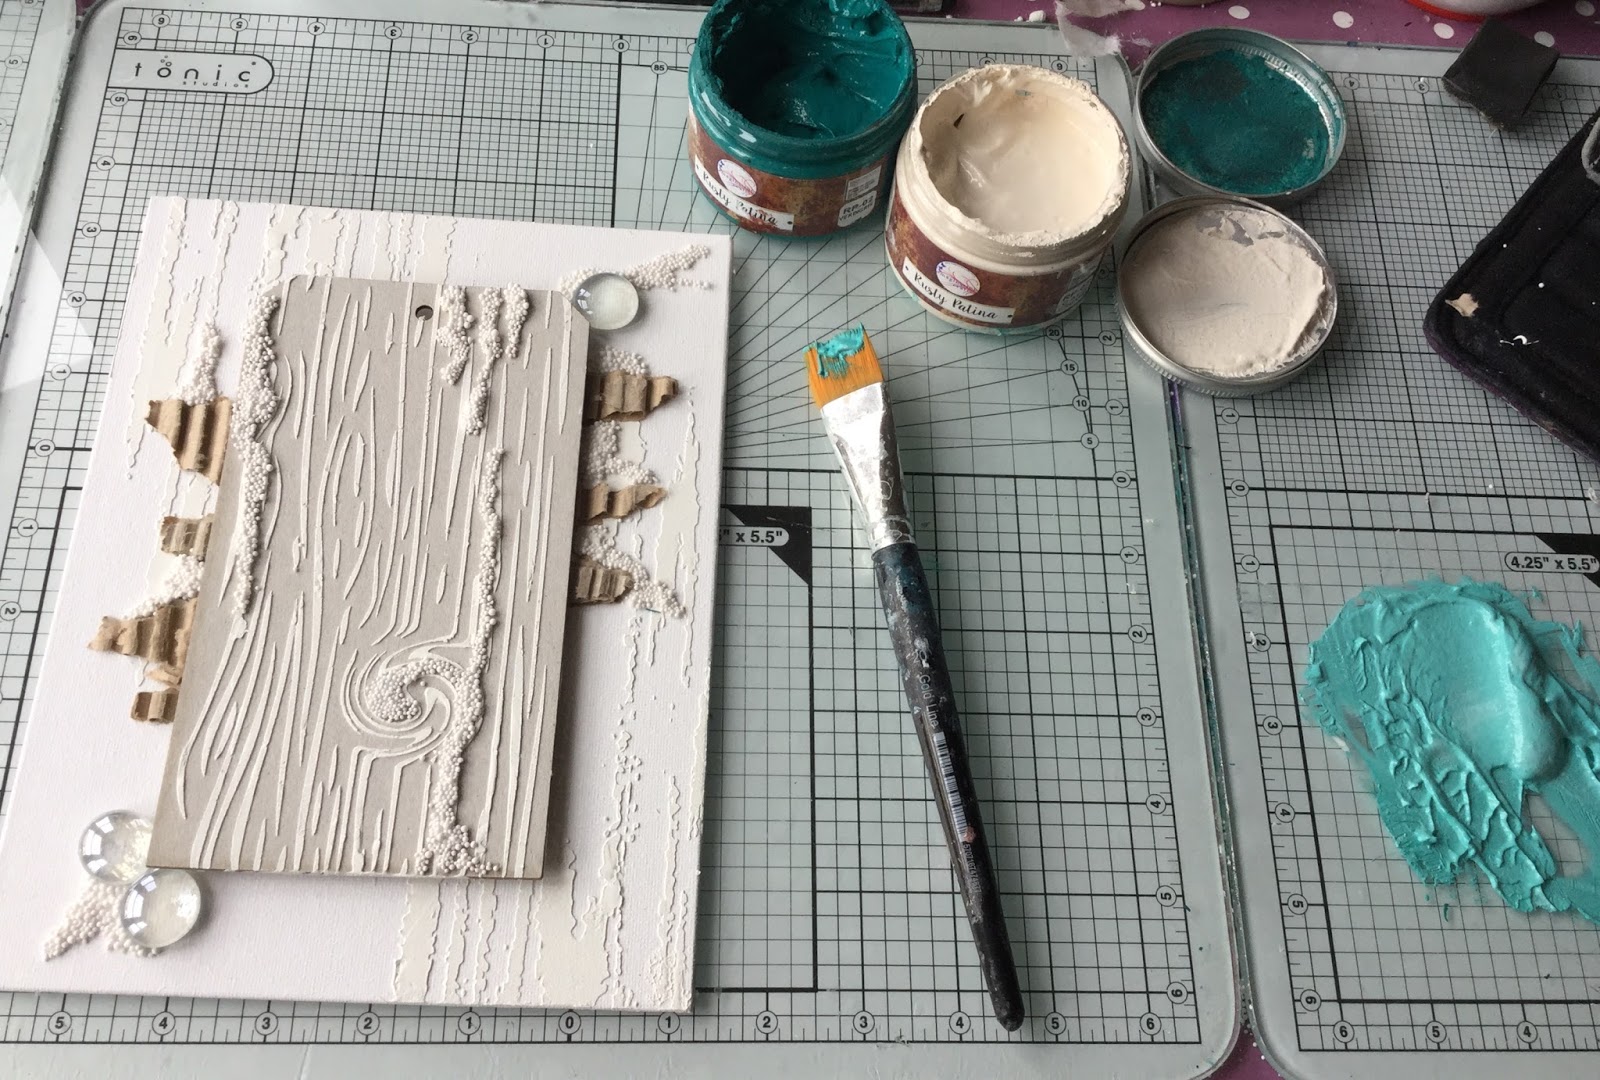
I used a white primed heart canvas. Firstly, I painted the surface with Imagination Crafts Rusty Patina in Duck Egg, spritzed with water and then added small areas of Rusty Patina in Soot.  I added more water to make the paints move together.  Allowed to dry.


Next I added some stencilling using Imagination Crafts Structure Paste through a Mandala stencil design.  Dry.  Using Starlight Paints in Orange, Banana Yellow and Rusty Patina in Rustique, I added some colour over the dried pasted design. Once dried I added detail script with a stencil.


I took some MDF Cogs from my crafty stash and added the Rusty Patina in Rustique over the entire surface of each.  I then applied more Rusty Patina to build the texture.  Once dry I added some highlight areas using the Starlight Paints in Orange and Banana Yellow and glued the pieces in position.


Finally, I added Structure Paste through a stencil to add detail to the MDF Bird.  Allowed to dry and then I painted the bird with Rusty Patina in Duck Egg and added gold highlights with Imagination Crafts Alchemy Wax in Inca Gold.  To finish the edges I added a little Rusty Patina in Soot.

I hope you like my project and enjoy the other designers creations.  Take a journey through the blog hop :) 


What I Used


Thanks 
for
Popping By
xx

Monday 14 May 2018

Butterfly Tag Canvas with Imagination Crafts

Hi Everyone

We have a lovely day here in South Wales.  I hope you are enjoying the same.

Today's project has been created using Imagination Crafts fabulous Rusty Patina paints to give both texture and colour.  I hope you like it.  So let's get started!


 What I Did

  • First step is to get a small canvas, a chipboard tag and some cardboard.  You could you use the cardboard to cut the tag from also


  • Take the tag together with the  Wood Grain stencil and smooth the structure paste through the design.  Dry.  Clean stencil.


  • Using the Weathered Wash stencil add design to the canvas background edges.  Dry.  Clean stencil.


  • Tear some random strips from the cardboard exposing the ridges and glue to canvas.  Also glue a larger piece of cardboard to the rear of the tag to add depth.  Glue tag in to position.  Dry.


  • For the next stage I added some glue drips to the tag and canvas and covered them with Artsy Stones.  I also glued on some flat backed glass stones.  Dry.


  • Use the Rusty Patinas in Café Crème and Verdigris and mix tog3ethr to form a mid shade of pale green.  Paint over the entire piece.  Dry.


  • Now use the Verdigris and dry brush over some areas to begin building the layers of colour.


  • Next add the Rustique colour to your chosen areas.


  • It's time to start adding the highlights with the Café Crème colour using a foam sponge/cut an use foam.  Dry.


  • Using a sponge or a brush add some Starlight Wax in White Gold to add top highlights an to finish around the canvas edges.


  • The final step is to use the rice paper butterflies.  Cut out roughly and glue to some white card.  Cut out and add to the centre tag to finish.


  • Voila.  C'est fini! 


Sunday 13 May 2018

Pearl Lady Hoop with Imagination Crafts

Hi Everyone

It's been an extremely busy few weeks preparing for recent shows on Hochanda for the Imagination Crafts!  It was a fabulous weekend working with Sue Baker :)  So I haven't had a chance to post any projects for you, so today is the day.


I have a version of this project for you that I made for shows using the Imagination Crafts gorgeous products.  So let's get started :)


What I did
  • First step is to paint the background of the fabric using the Sky Blue Starlight Textile paint leaving the centre a little paler where the lady figure will sit.  Dry.
  • Tape off areas of the 'Pearl Lady' stencil leaving you with just the lady.  Mix a small amount of black and white gesso together to make a pale grey colour.  With stencil brush stipple through the design.  Dry.


  • Next paint the body areas with a base of white gesso and dry.  Then take some white gesso on to the mat and mix a very small amount of Rustique Rusty Patina into it and mix.  This will give you your skin tone.  Paint over the body areas adding some shadows using a little more of the rusty patina whilst the paint is still wet.  Dry.


  • Paint in the hair detail using the red Starlight Textile paint and the Copper Textile Sparkle Medium.  You can also paint in the dress at this stage using the red paint and black starlight to add shadowing (sorry missed out a photo of this part!).


  • Tape off the stencil so that only the outer detail circle is all that is used.  Stipple through with black gesso.  Dry.


  • Place the stencil back into position over the black circle and slightly move it across and down to get a small shadow and tape down.  Take the gold texture paste and carefully using a palette knife, spread across stencil.  Dry.  Note:  Please remember to wash the stencil asap to remove any remaining paste.


  • Once the texture paste has dried you can then add the floral details you want using the Starlight Textile Paints - red, green and black.  Dry.  Add the black Just Pearls to add finishing touches.  Dry.


  • Once the pearls are dry use the embroidery hoop.  Place fabric over the inner part of hoop centrally and slip the larger outer hoop part over and push down.  When happy tighten the screw to fix fabric in position.  You can paint the hoop before adding fabric with the Starlight Paints to give a beautiful finish.

What I Used

Imagination Crafts domed Stencil Brushes


I hope you like this project and have been inspired. :)

Thanks
for
Popping By

MJ
xx